I first started looking into how to make birch tar oil as a way to fully utilize the birch I cut every year for firewood. My house is mainly wood heat and in my area we are only allowed to cut leaf trees with birch being by far the best option for firewood. I found it wasteful to be just burning the birch bark, I knew it had history and many different properties, there had to be ways to make use of it. I cut about 18 cords a year for firewood, so that is a substantial amount of bark.
That was about a year ago and since that time I have learned quite a bit about birch tar oil, its different uses and the intricacies of distilling it for different purposes. In this how to make birch tar oil I will outline a few different methods of distillation and how to distill it for different uses or link to one of my other articles that outlines the process.
Why You Would Want To Make Birch Tar Oil
Birch tar oil is one of the most versatile substances I know of, here is a short list of what it can be used for, some of these require the oil to be further refined which I cover in this article.
- It is a powerful antiseptic with very strong antiviral, anti-bacterial, and anti-fungal properties.
- Repels insects, bugs, worms, and rodents.
- Excellent conditioner / waterproofer for leather and wood (check out Russia Leather).
- Can be used as a sealant and strong adhesive that does not get brittle at cold temperatures.
- Also works well as a protector for metal. I wipe my knife blades with it to keep them from developing any rust.
- Highly resistant to saltwater damage.
The birch tar oil imparts these characteristics on items you may use it on. Such as if you apply it to a knife handle or leather boots you now have something that is waterproofed, highly resistant to saltwater damage, repels all manner of insects, bugs, worms, highly resistant to bacteria, fungus, molds.
Birch Tar Oil As A Leather Conditioner VS Animal Products Such as Neatsfoot Oil
Not a commonly known fact about using animal based products on leather is that the tend to oxidize heavily after time. People mistake this often as it simply being time to reapply their product as the leather is drying out and becoming hard. In fact this is caused by the product oxidizing which can damage the leather. Animal based products also invite the development of bacteria and make leather more susceptible to rot and damage by molds and fungus. This goes for all animal products that I know of such as Neatsfoot oil, mink oil, grease such as bear grease.
Birch tar oil will also start to oxidize slightly after 8-9 months but much less so then animal based leather products and I have yet to see it oxidize enough to actually cause damage to the leather. Refining the oil down such as I do for my Birch Tar Oil For Leather & Wood further reduces chances of oxidizing in the leather as more of the volatile compounds are refined out.
Well let’s get started!
What You Will Need To Make Birch Tar Oil
- Birch bark, preferably from white birch, river birch will also work but gives less oil.
- An all steel paint can and lid.
- A can such as a tomato juice can. Deeper is better as it will keep your oil cooler and prevent it from refining down into tar.
- Hammer, a nail, long flat screwdriver.
- Syringe with piece of plastic tube that fits on the end (optional).
- Small clear container.
- A fire pit that you can dig a hole in and enough wood to keep a fire burning for 1.5 to 2 hours.
Harvesting Birch Bark For Your Oil
It is best to harvest from fallen trees or pick up off the ground. The trees will rot out completely leaving large chunks of bark full intact and fine for making oil. Only harvest from live trees if you know what you are doing. It is easy to kill a tree by removing the bark if you do not know what you are doing. Even if the tree does not die after it will be quite ugly for a very longtime which a landowner is not going to appreciate.
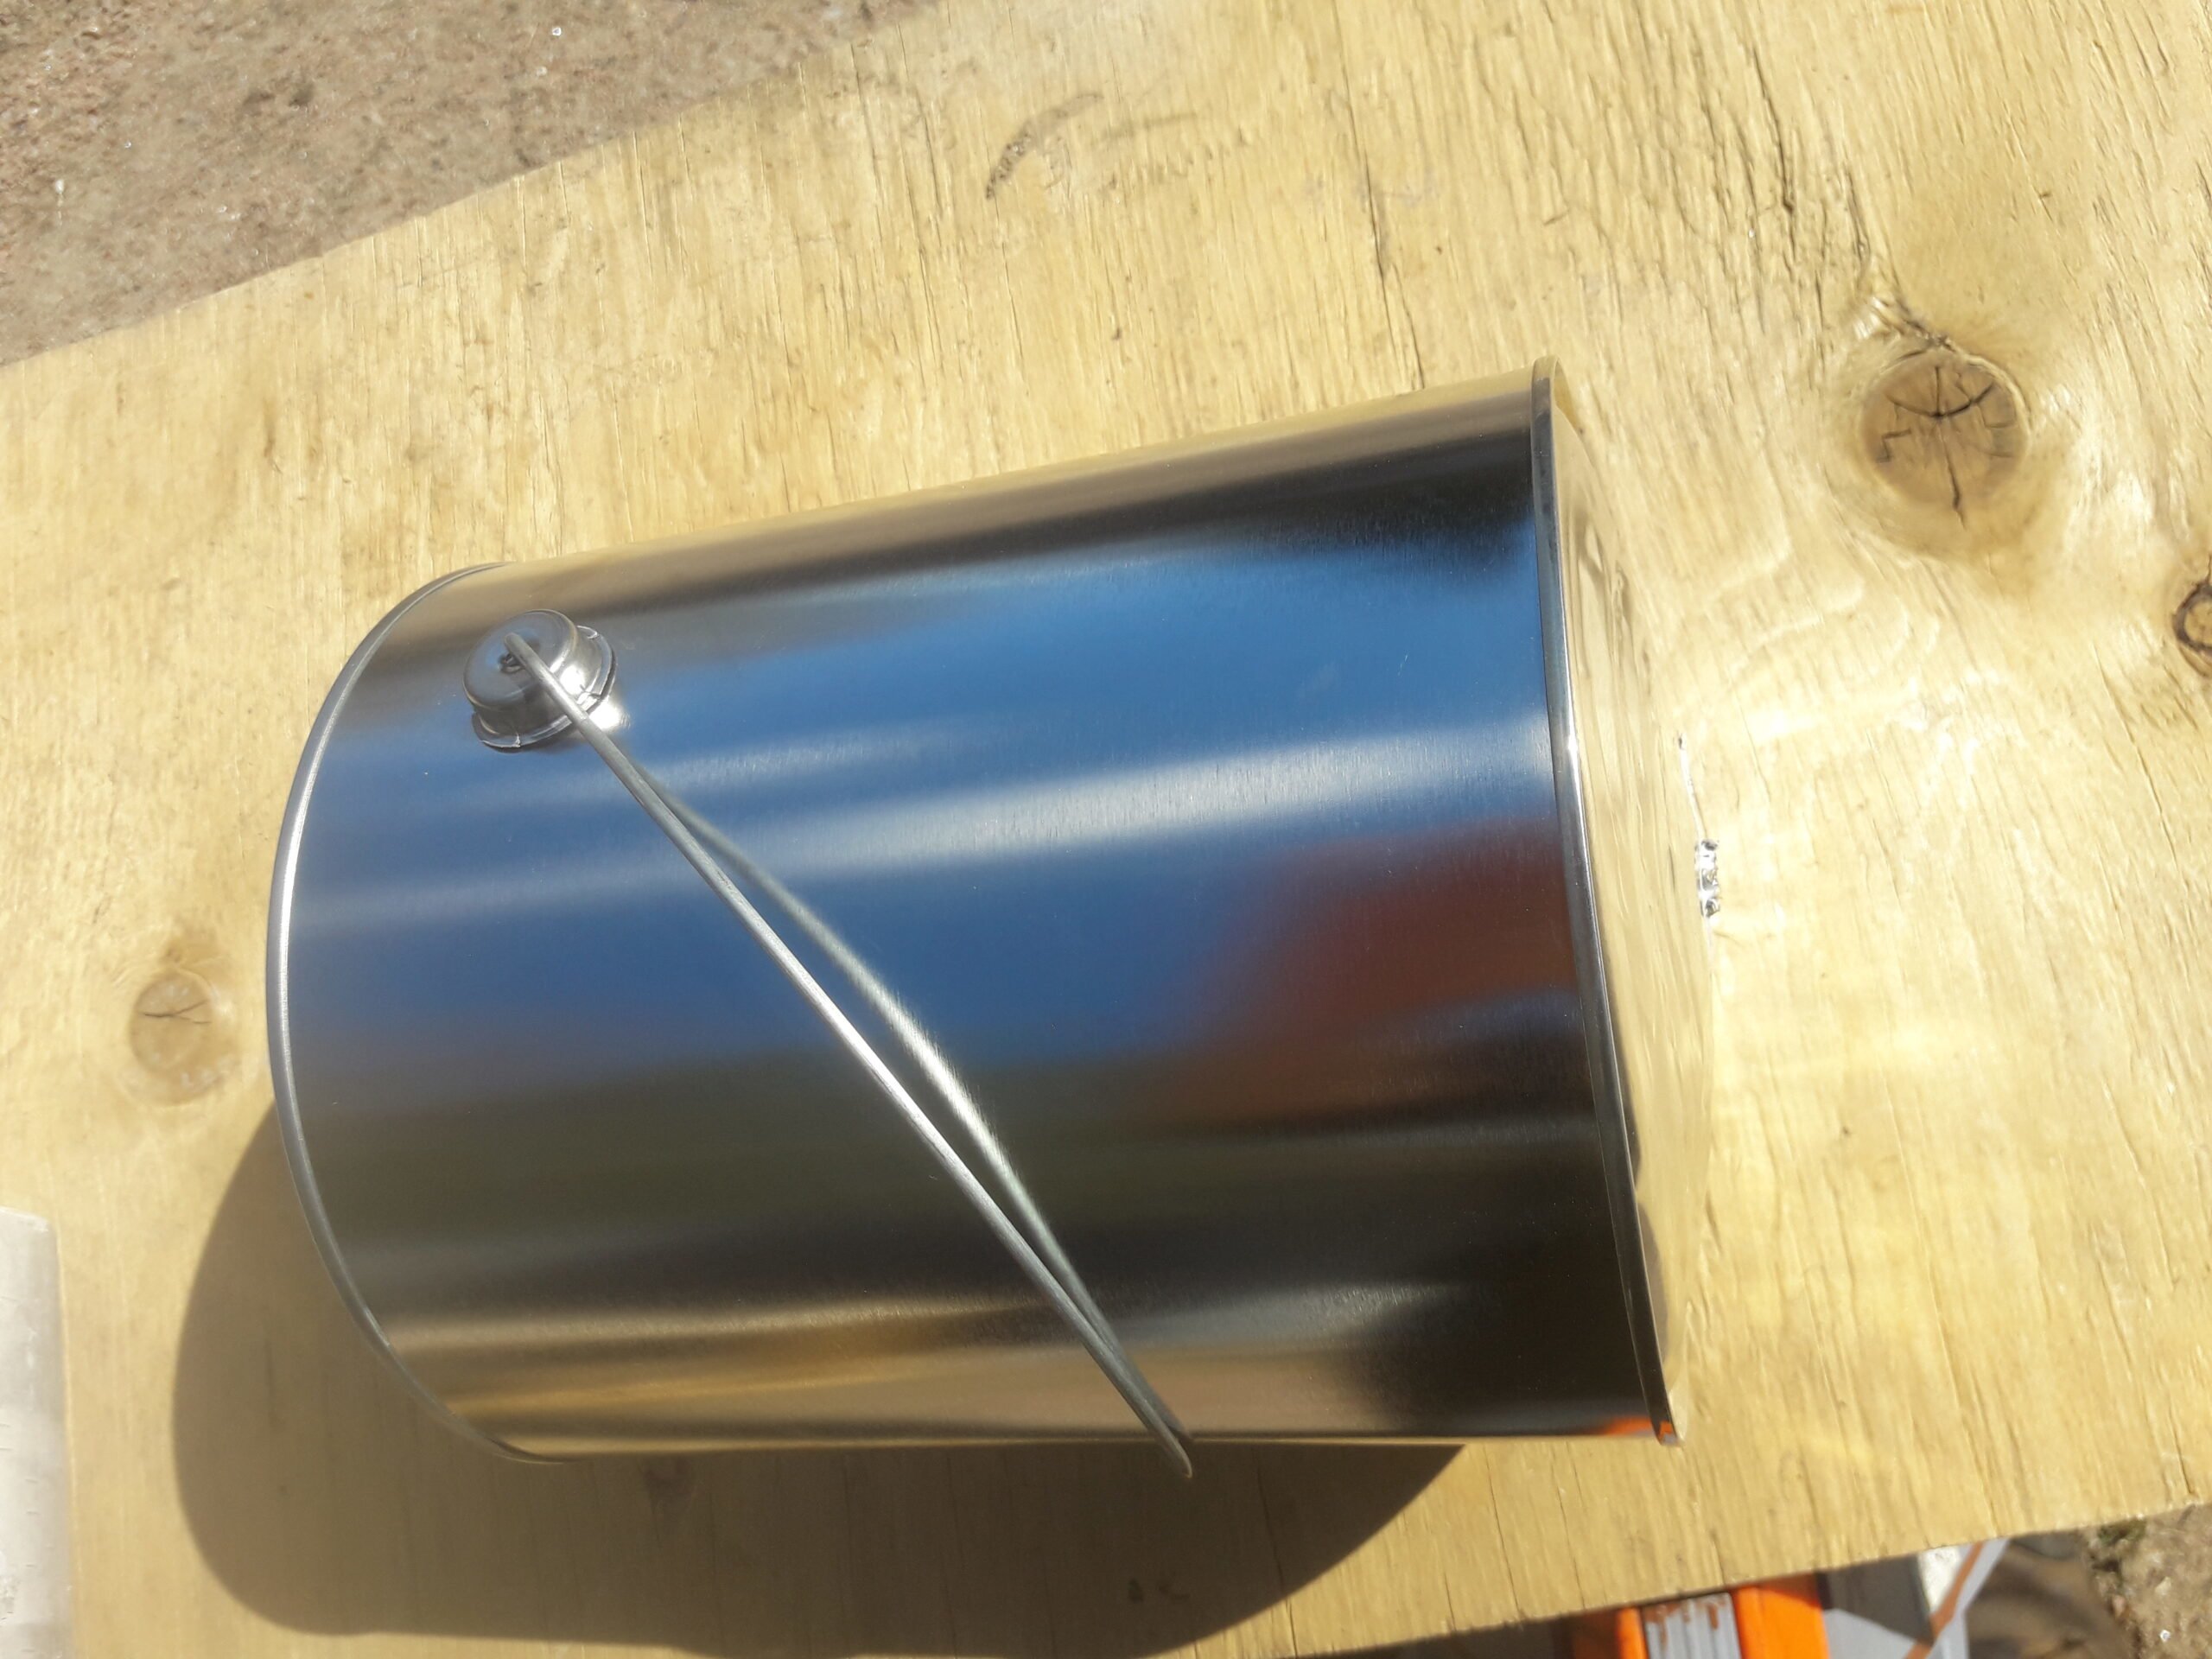
Prepare The Paint Can
Take the lid off flip it upside down and punch a hole in the center with a nail. Now take your long handled screwdriver and from inside out punch a hole in the center of the bottom of the can. Move the screwdriver around to make the hole larger. Flip the screwdriver over and use the handle to pound the bottom of the can outwards, we want all oil to run into that center hole.
Trim The Bark And Fill The Paint Can
I cut my bark into strips that are 6.5 inches high. This allows you to easily fit it into the can when rolled and keeps you from fighting to get the lid on. Stack the strips and roll them as tightly as possible until you have a roll that will easily fit in the can. Don’t worry about getting it super close to the max size you can fit in, I have a trick to make sure that space in the can is fully used. Once the roll is in you probably have a hole in the middle, get your hand / fingers in there and make the bark rotate clockwise this forces all the layers outwards and tightens the roll up increasing the size of the hole in the middle.
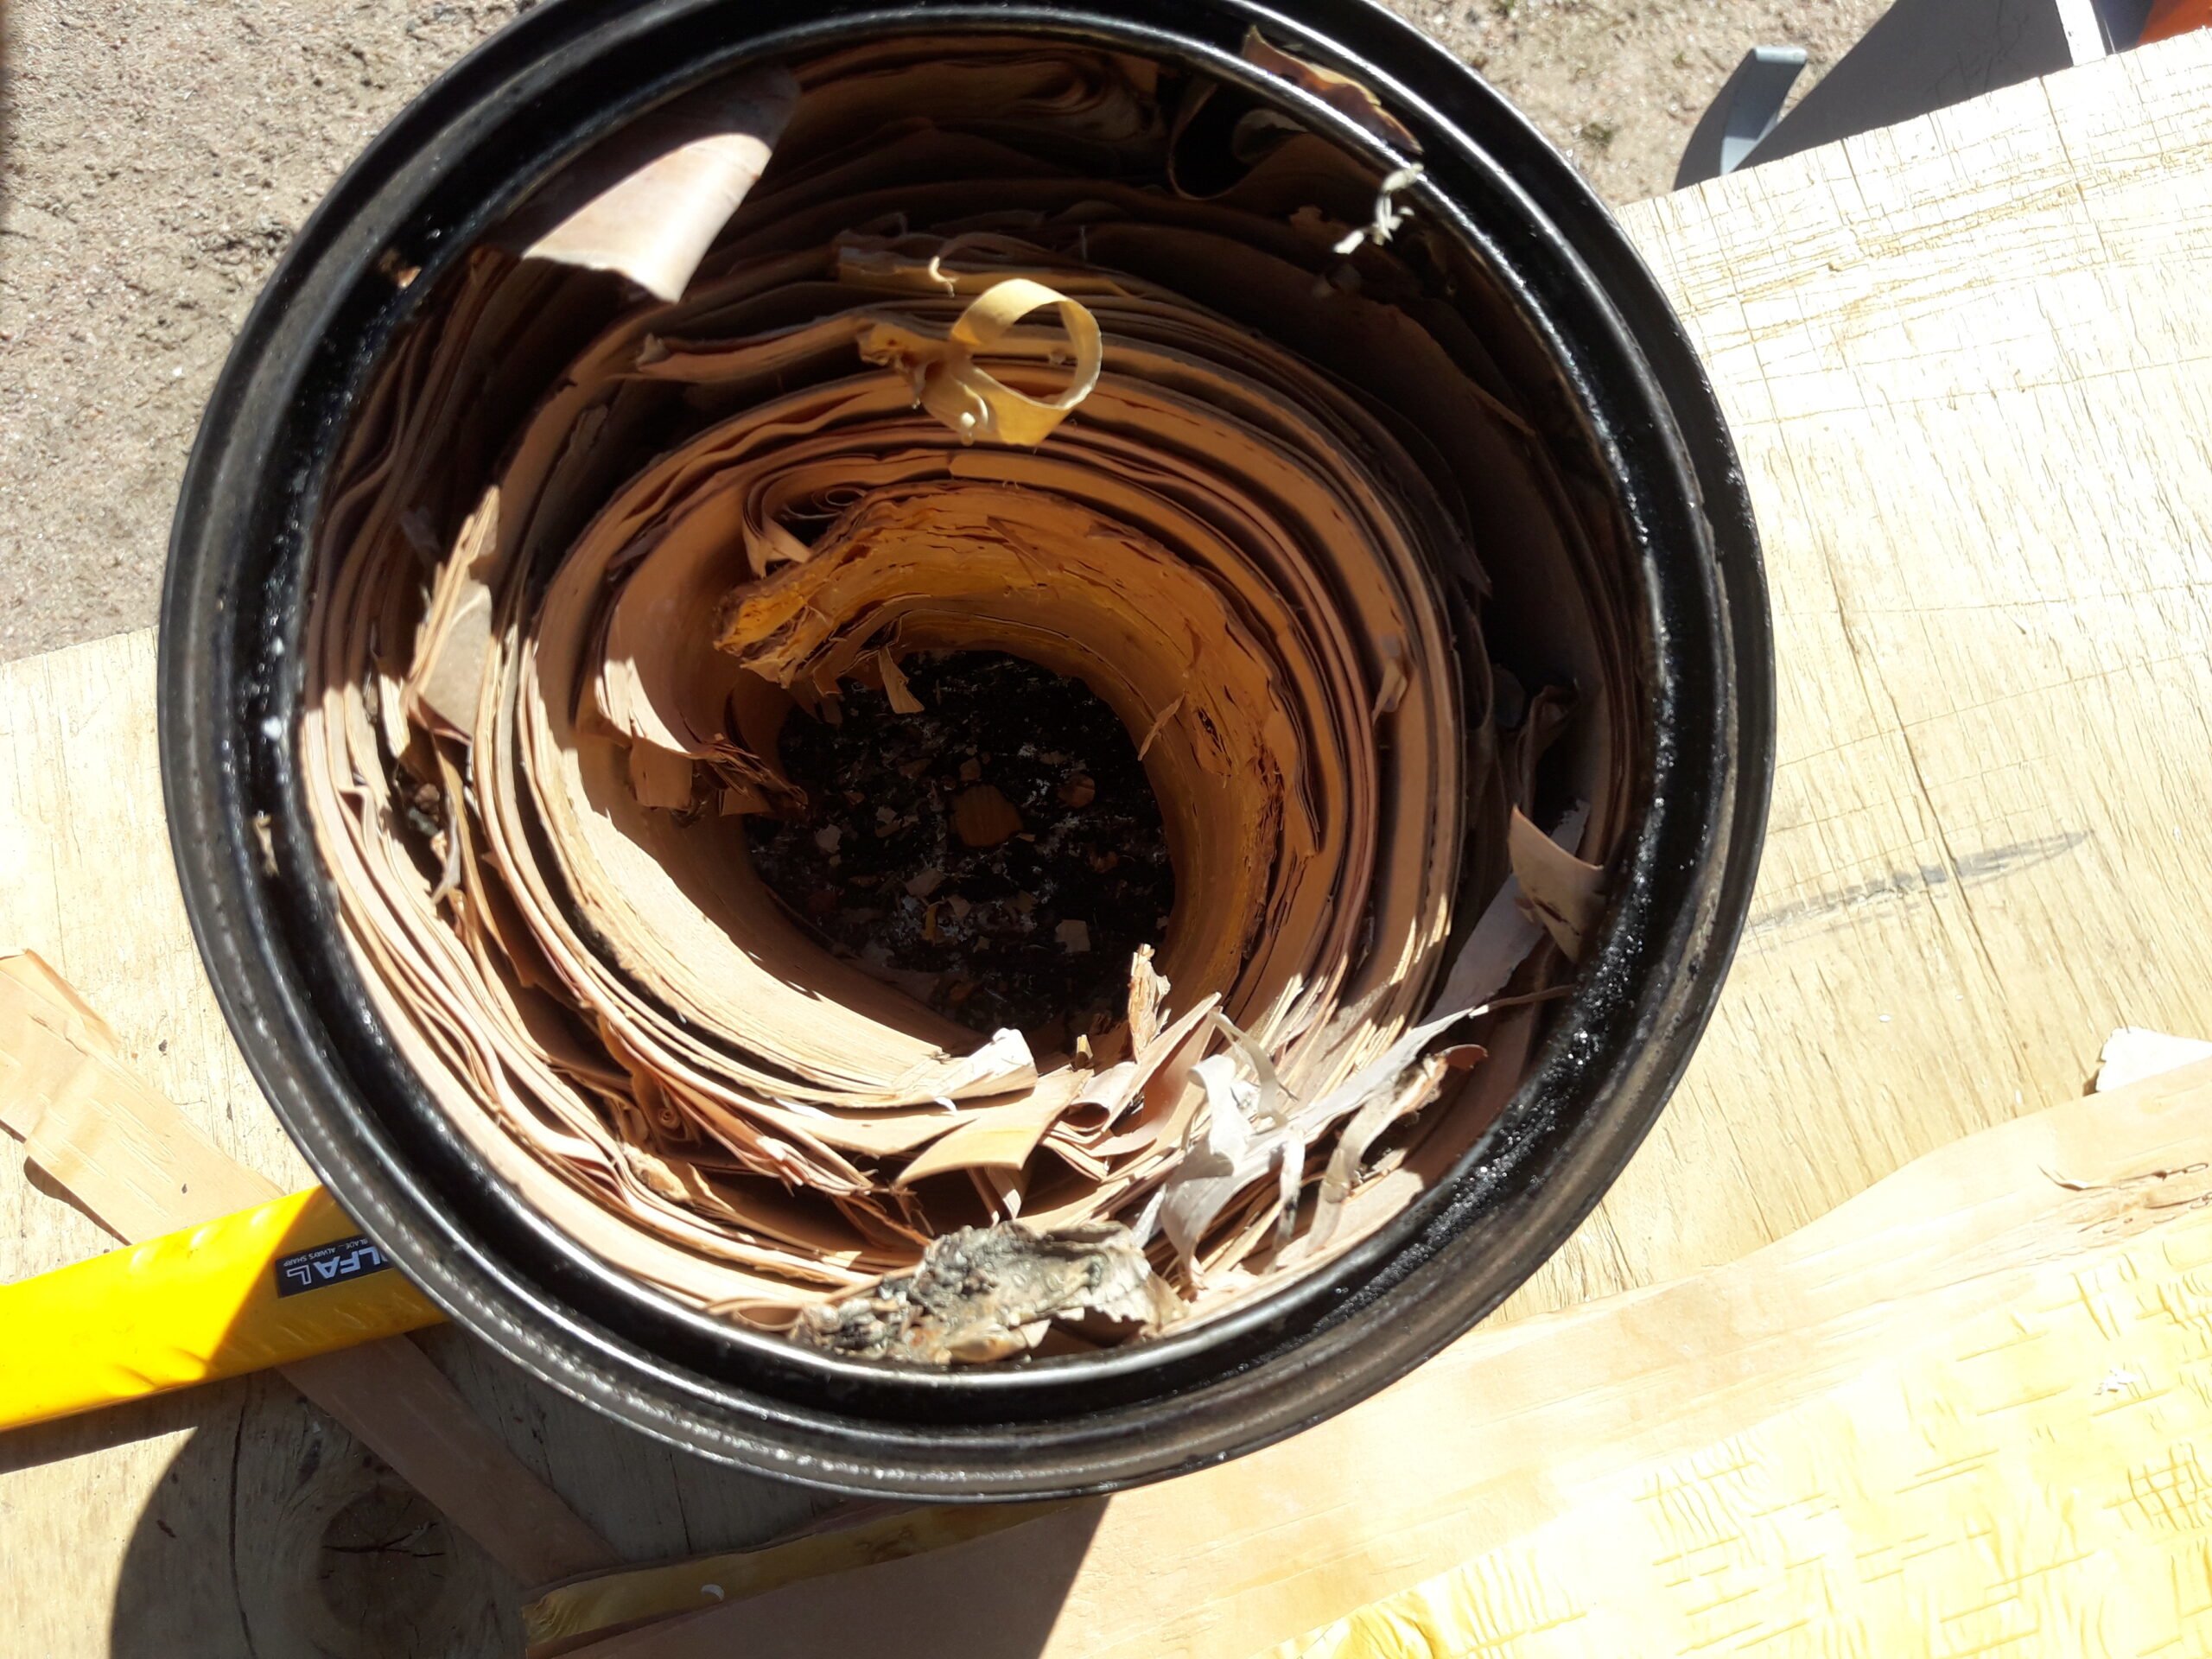
Make another roll nice and tight and fill that middle hole. If well stuffed you should have around 1.5 lbs of bark in your can.
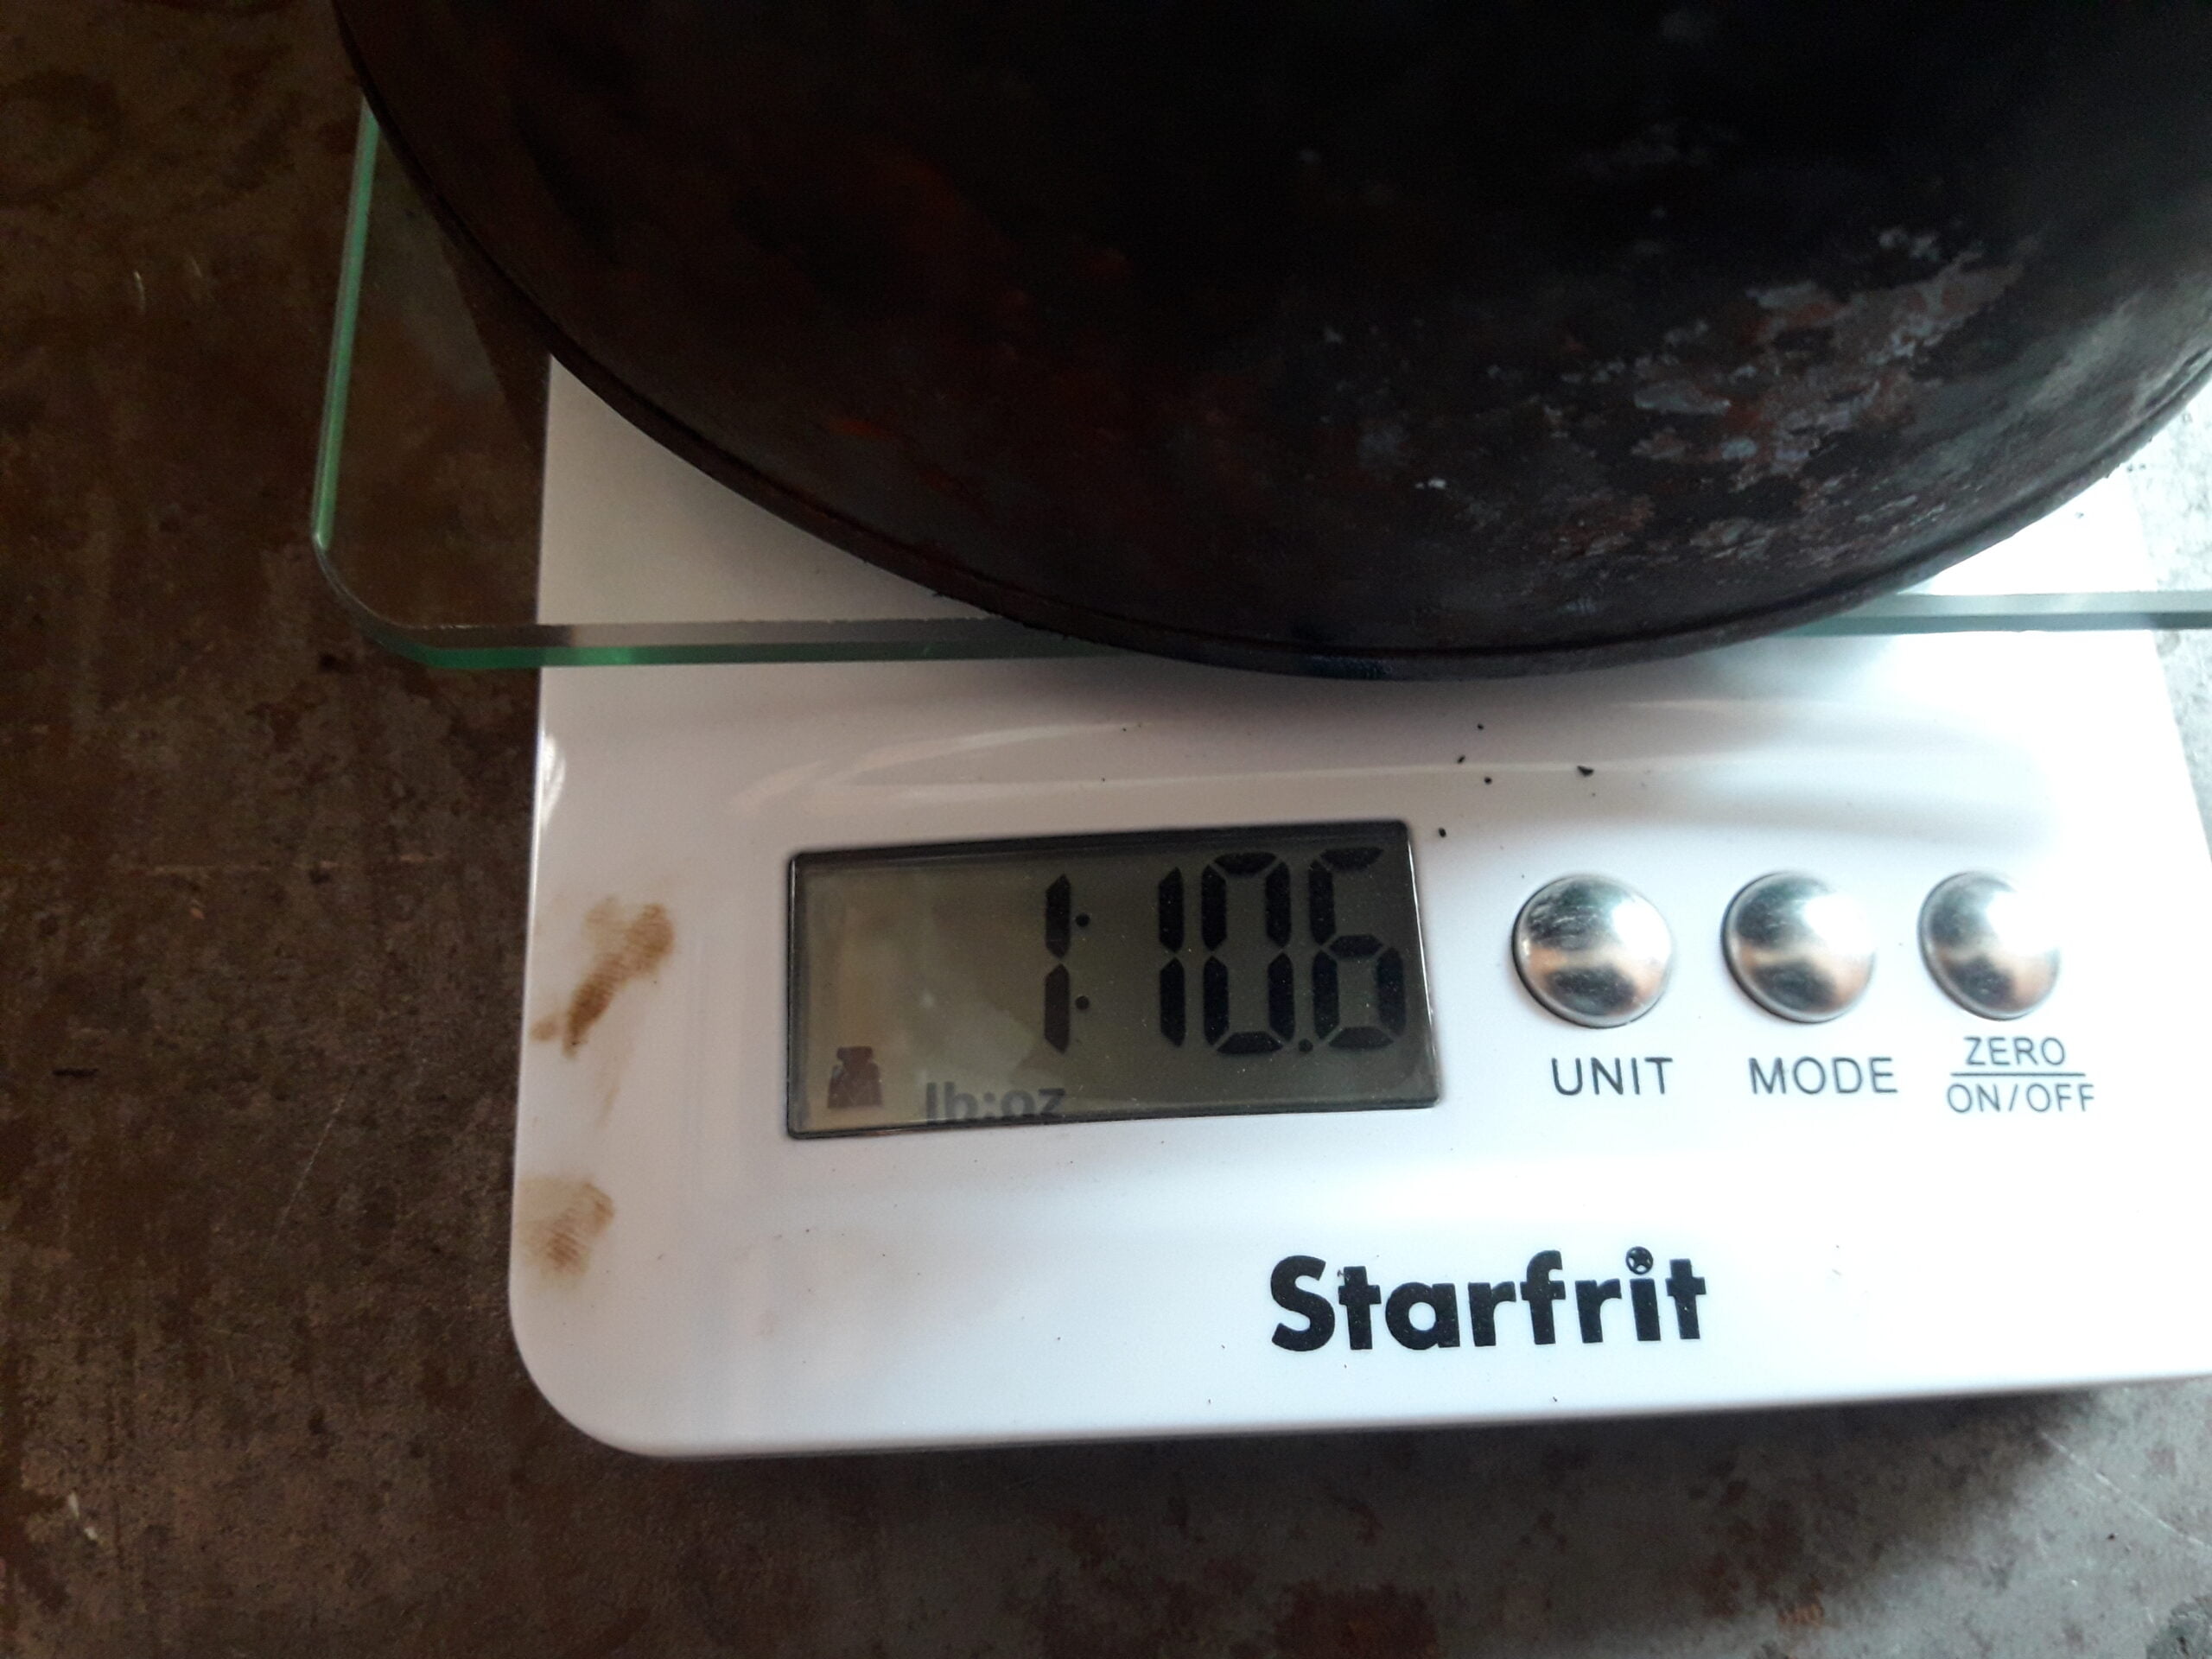
1.5 lbs of bark can yield you anywhere from 100 to 150ml of birch tar oil, you lose 5 to 15% of your volume after water removal.
Fire & Pit Prep
Dig a hole deep enough to bury your small can in the middle of your fire pit and drop the can in. Set the paint can on top and bury everything, while burying make sure you press the dirt in firm around the bottom can and make sure the stack is level. You want the cans stable to help prevent accidentally knocking it over and it needs to be level or you will lose some oil as it will not make it to the hole and drop out quickly enough, instead it turns thick and becomes pitch. Bury the bottom two inches of the paint can as well to stabilize it and help keep the bottom of the can a little cooler.
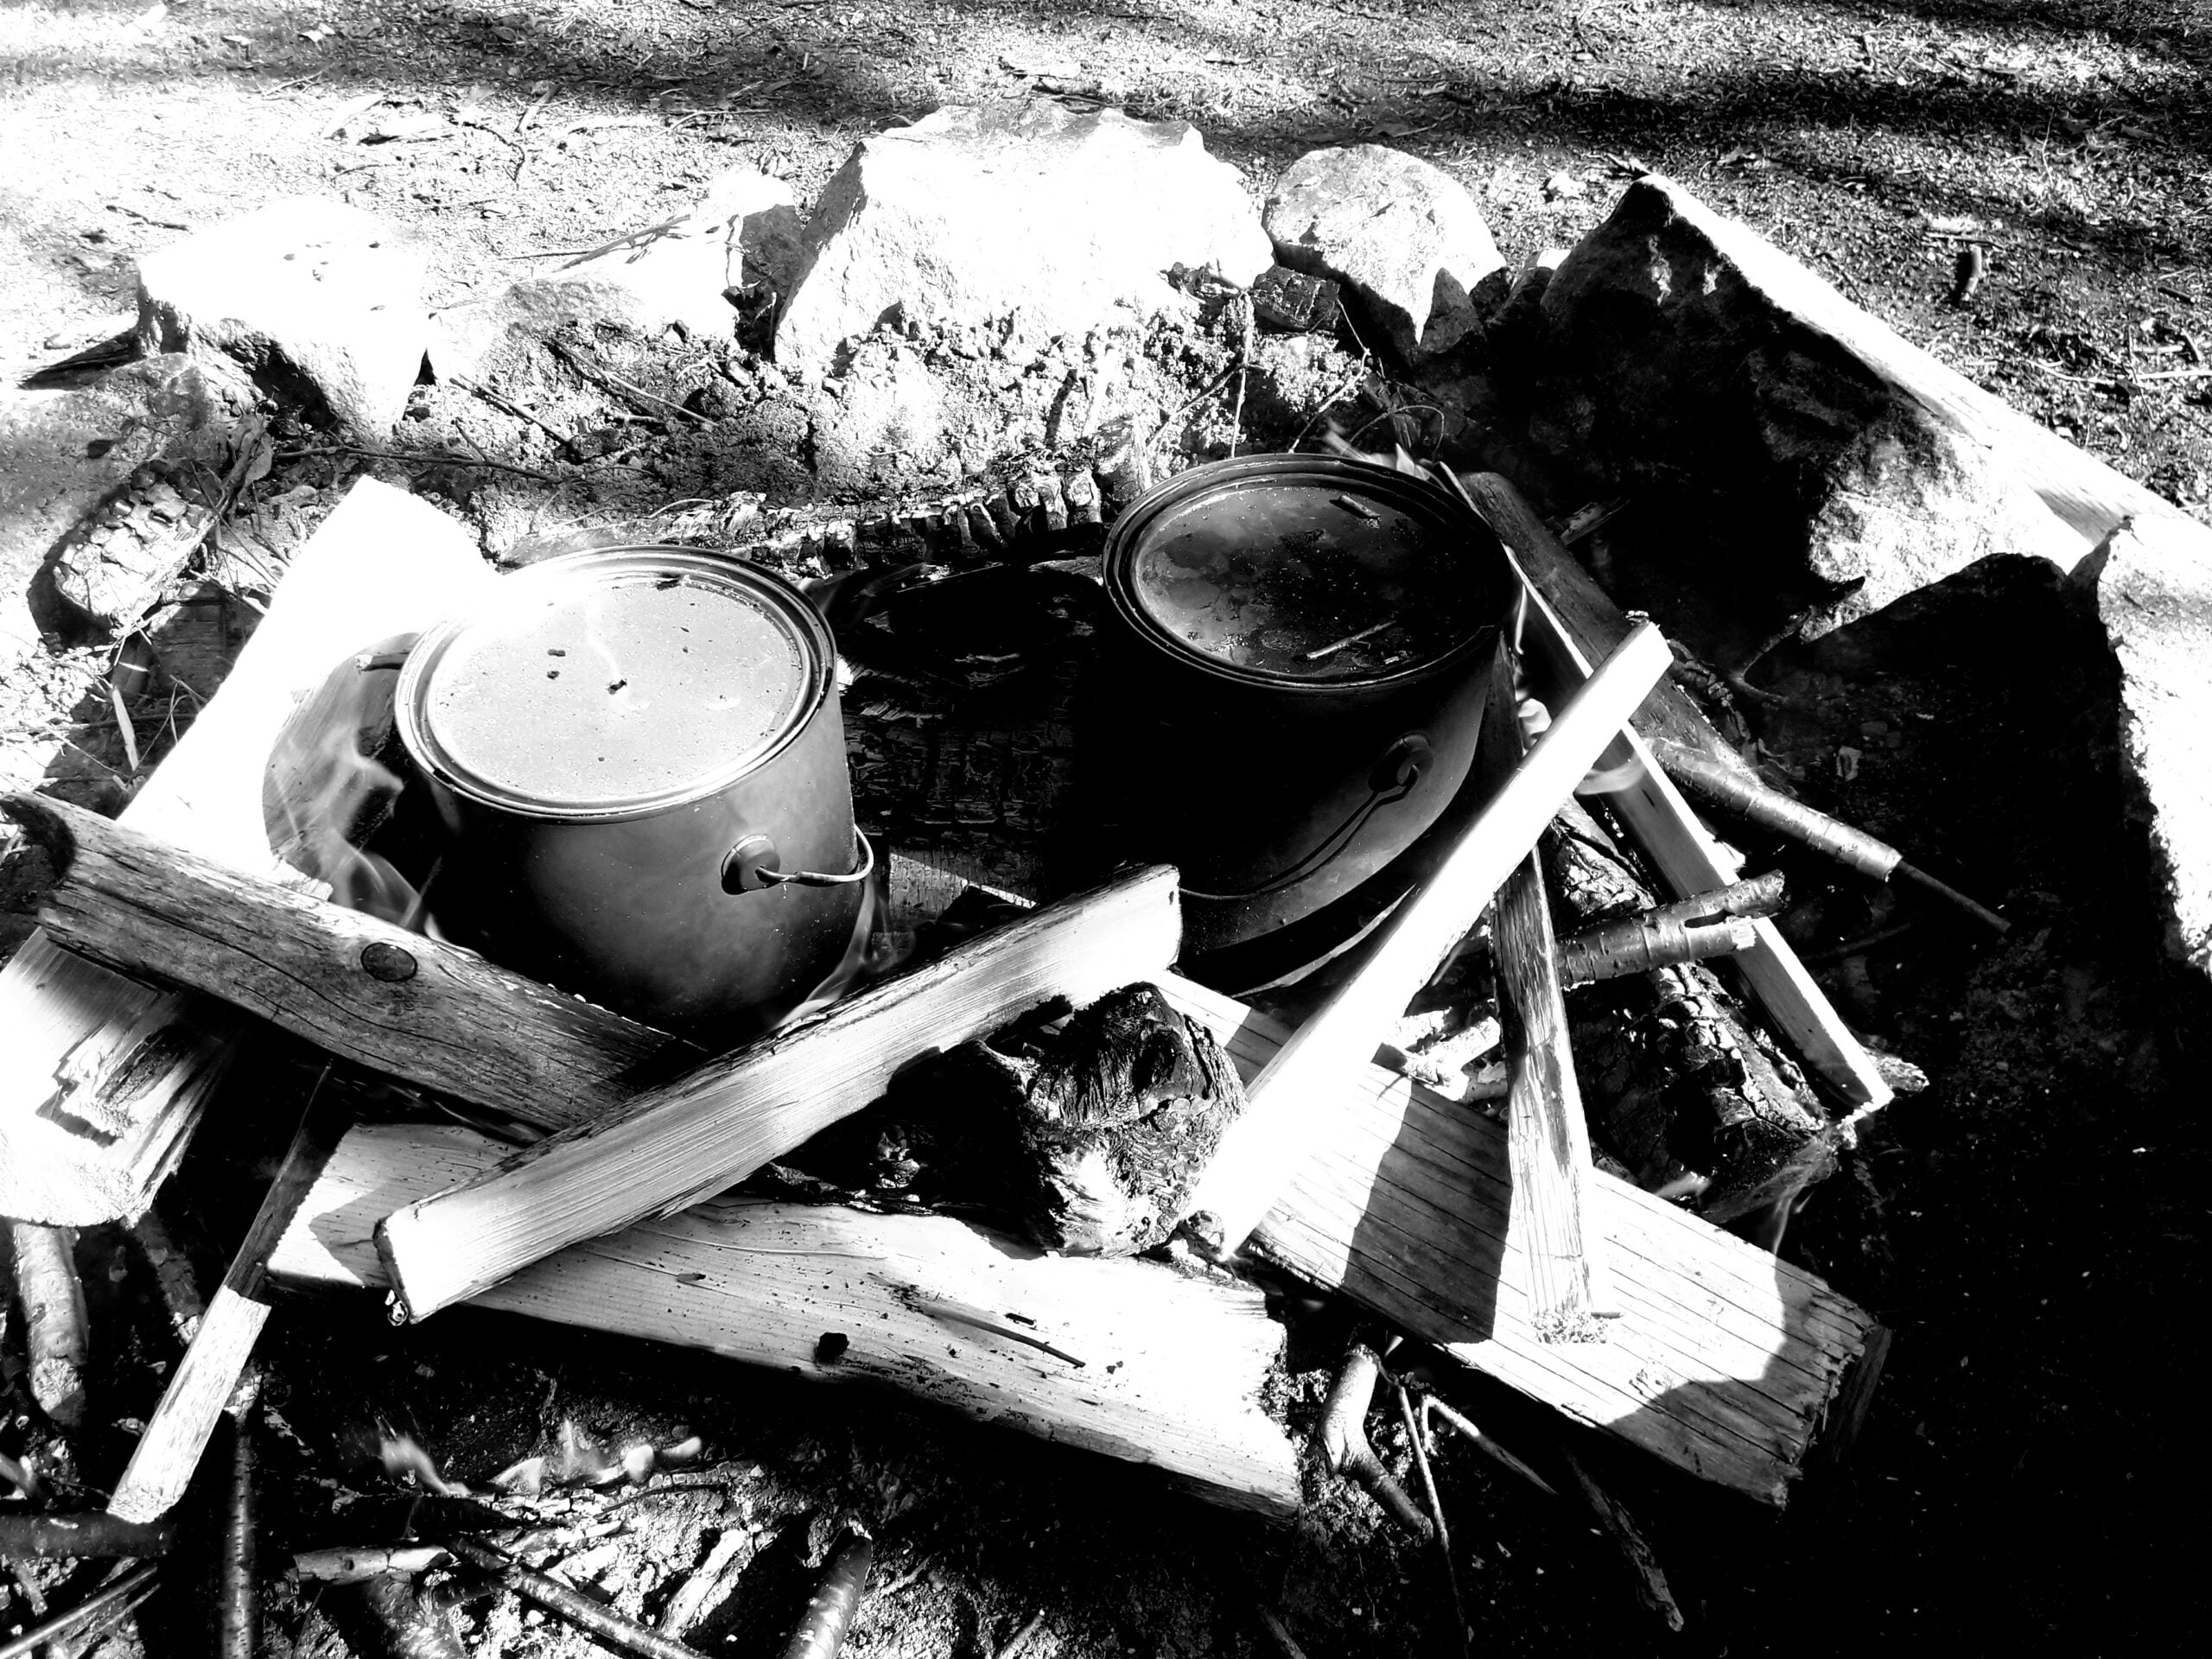
Begin Distilling
Build and maintain a good fire around the can, you want it hot but not raging, keep the wood and fire an inch away from the can. You will soon see some smoke coming out of the top of the can, the process has begun. You want a nice steady stream of smoke out the top hole, if you see it starting to become a jet under high pressure you are too hot, adjust your fire. The process takes 1.5 to 2 hours, you will know the bark inside is fully distilled by the smoke stream, at the end it gets very slow. Once you see that pull the fire away from your cans, remove top can and pull out the bottom can with a pair of pliers.
While distilling the stream of smoke and vapor coming out the top will catch fire, nothing to worry about you can let it burn. Interesting enough this flame can be an indicator on how your distillation process is going. At the start the flame is easy to put out, a simple swipe of your hat to disrupt it will put it out. If you find that it changes and is hard to put out and immediately re-ignites it means you are either too hot or the birch tar oil in your bottom can has started to boil which you don’t want.
Here is an example video of a double can distill I did last week that was on the verge of getting a bit too hot, I adjusted the fire a bit. I plan on picking up a infrared thermometer in the near future and tracking temperatures. I think best oil production happens at relatively low temperatures for a wood fire, maybe around 600-800 Celsius.
You can see the pressure of the stream, getting a bit too hot. Once you have your oil I suggest to fill in the hole and put the fire back together. Pop off the paint can lid and use a screwdriver or something to remove the remains of the bark. It should be crispy and light, if you see any that is not especially on sides of the can it was not in long enough. You will probably have a layer of pitch glue at the bottom of the can with a bunch on charred bark stuck to it. This is hard to scrape out, toss it on the fire and let it roast for a bit, that bottom layer will get crispy and easy to remove.
Remove The Water From Your Birch Tar Oil
Pour your birch tar oil into a clear container, small circumference is better as it will make the water layer easier to deal with. Let it sit for and hour and clear up, after that you should be able to see the layer of oil on the bottom. Use your handy dandy syringe and tube to reach and extract it.
Here you can see the water layer at bottom that needs to be drawn out.
Once the water is removed you should now have birch tar oil which is a bit thicker than water at room temperature. Depending on how you want to use it you can clean it up some as well as further refine it.
Filtering Your Birch Tar Oil
If you plan on using the oil on leather or wood it is good to filter out some of the charcoal in the oil. Warm the oil up past room temperature, it doesn’t take much to get it to thin out, setting it in a cup of warm water will do, it should be like water when you filter it. I prefer to use cheesecloth for this. Once done you have a cleaner oil that looks nicer especially on wood.
Birch Tar Oil Consistencies And Uses
Note: Birch tar oil has been used for 100’s of years both as a topical treatment and also ingested to treat things such as stomach ailments and also used to flavor foods(mostly in Scandinavia). Still today research on its constituents and their amounts is spotty and results inconclusive. I strongly recommend you do not ingest Birch tar oil and any topical applications should be kept to small areas such as the scalp, foot, hand. Using it on large area of your skin may be harmful due to the fact that it does contain p-cresol.
Birch Tar Oil: If you have distilled it properly and kept the oil cool enough it should be in this form, it is slightly thicker than water, more like a thin motor oil. In this state it can be used for a wide variety of uses, such as:
- Antiseptic, antiviral, antibacterial, anti-fungal. At the beginning of this post I linked to an article where I describe its use in this way, it has been used for 100s of years as a medicinal treatment, disinfectant, cleaner.
- Is used to treat skin conditions and parasites like eczema, psoriasis, ringworm, toenail fungus, scabies, lice, fleas, and mites.
- Disinfecting wounds, has been shown to accelerate cell regeneration and quicker healing of wound.
- Treatment and improved healing of burns.
- Excellent used as a cleaner, and disinfectant on tack (saddles, bridles, etc). Also waterproofs and protects the leather.
- Can be used as an insect repellent. Mongol tribes use it on their horses to help give them a break from the hordes of biting insects.
- Gardening. It repels a wide variety of bugs, insects, and gastropods. It can be used in a wide variety of ways including under the soil to prevent things like onion maggots. It also repels good bugs and insects such as bees so it should be used with caution and kept away from areas such as flowers that need to be pollinated.
- Leather & Wood: It is a very effective leather and wood waterproofer, protector, conditioner. But in this state still contains a bit too much wood alcohol.
Birch Tar: This consistency is exactly what it says, thick viscous, will still pour at room temperature. With a bit of heat quickly thins out to near water consistency and should be warmed before using on leather and wood. Useful for the following:
- Wood & Leather: Excellent for wood and leather at this state. Should be warmed to bring it to oil consistency before applying. Imparts a unique and pleasant smoky smell that lasts for years. Waterproofs, protects, and lubricates fibers on leather without overly softening the leather, makes wood and leather highly resistant to salt-water damage, increases wear resistance, repels bugs, insects, and worms. Also makes wood and leather highly resistant to molds, fungus, and bacteria.
- General sealant and waterproofer. Can be used on a wide variety of materials to waterproof and seal.
- Still has antiseptic, antiviral, antibacterial, anti-fungal properties.
Birch Pitch: A strong adhesive which does not become brittle at cold temperatures and has been used since the Neanderthal days. Typically hard at room temperature and requires heat for use, sets quickly. Very good impact strength and good shear strength especially when charcoal is added while creating it. It is tricky to make and there is a fine line between making pitch and a lump of charcoal, adding too much charcoal makes it unusable as an adhesive. Adding fibers while making it further increases strength and flexibility at cold temperatures.
- Useful for affixing arrowheads, weapon heads and anything else you might need a strong traditional adhesive for.
Refining Your Birch Tar Oil
Refining the oil down into thicker consistencies is done by applying heat until it starts to boil, as soon as you see it start to boil maintain that heat, do not go higher. At its boiling point it is very flammable, the smoke and vapors that come off are strong and I am sure something you do not want to breathe. I always do any refining outside and if using an open flame be careful it is easy to accidentally start it on fire. Keep a cool rock close by, you can judge its consistency at cooler temperature by dripping a bit on the rock as you go. Letting the tar oil get over 200C seems to have adverse affects on it so be sure to keep control on the heat.
I carry some Birch tar oil in all my packs and use it around my property and house on a weekly basis, it is a massively versatile substance and a great replacement for many chemical products. I hope you find this useful and any questions please don’t hesitate to reach out, if you are wanting to try some Birch tar oil but do not have the means to or just don’t want to make it please check my store, I usually have some in stock.